
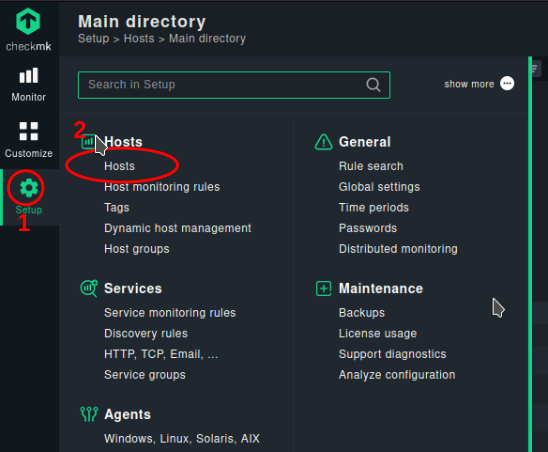
After having installed checkmk it is one of the first tasks to discover all devices in a given network.
To do so please follow the steps below:
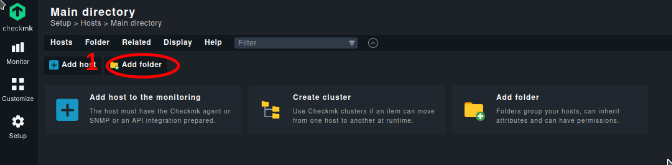
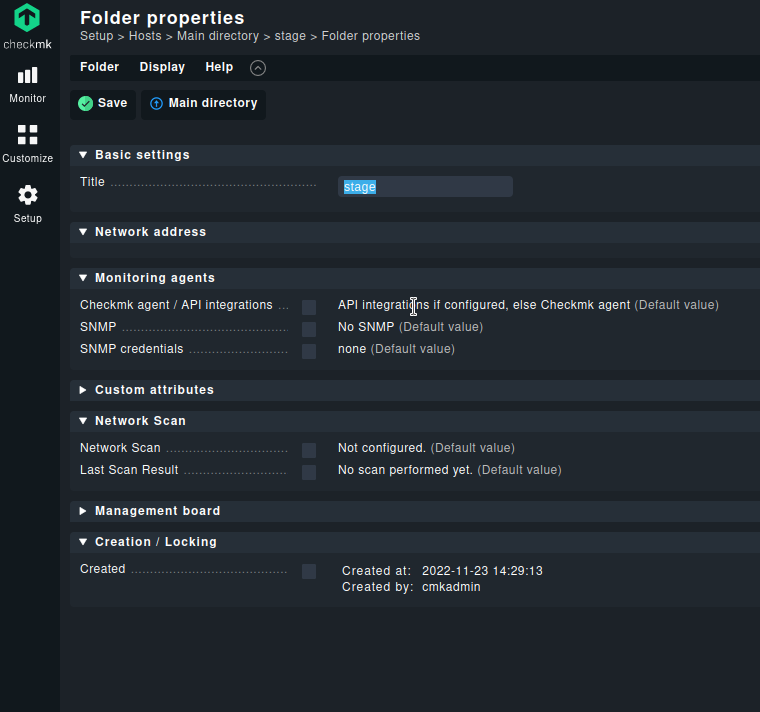
Create a stage folder to place newly discovered hosts in.
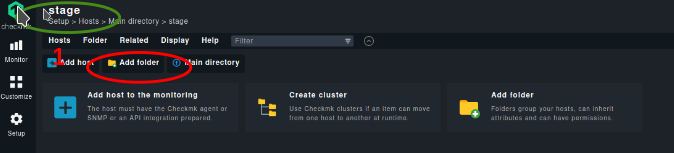
To handle several networks, several sub-folders will be created (this is optional).
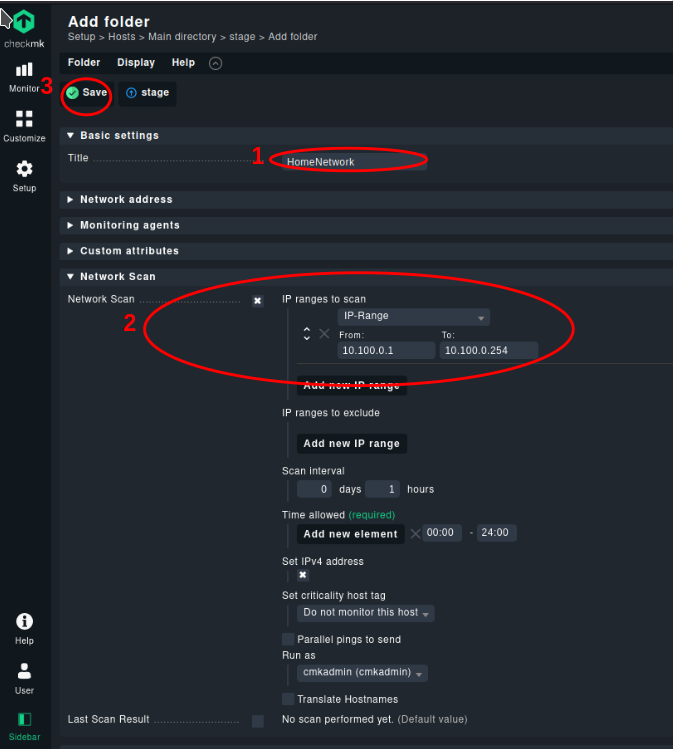
- Select Network Scan
- Add new IP range
- Select Set IPv4 address
- Set criticality host tag to “Do not monitor this host”
The Scan Interval is important, if you want detect new device quickly.
There are a lot of other settings possible. Please consult the documentation for further details (Section 6 of the linked article).